Last Updated on 02/21/2026 by Kacie Barlow
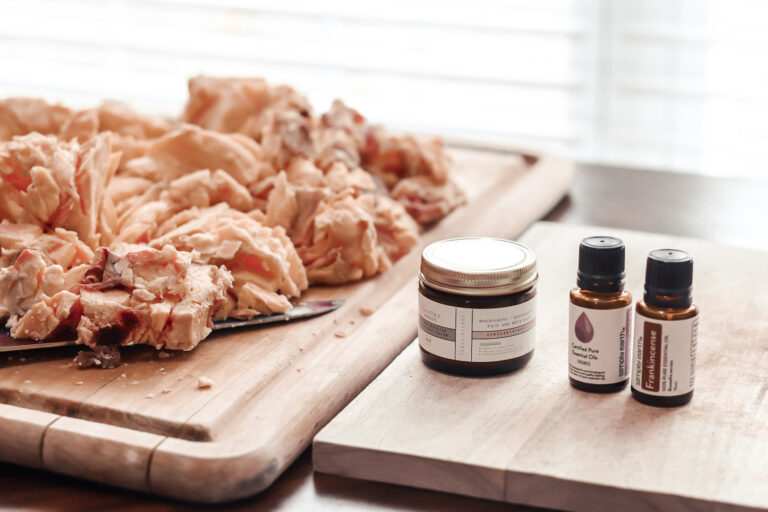
If you want to learn how to render and purify beef tallow the right way (whether that be for cooking, soap making, or tallow skincare or beauty products like our pure, unscented grass-fed tallow balms), this guide walks you through the entire process step-by-step.
Rendering beef tallow is the slow melting of raw beef fat to produce clean, stable rendered tallow with a naturally high smoke point. When done properly using low heat and careful straining, the finished product is smooth, versatile, and suitable for both kitchen and cosmetic use.
As a homesteader, holistic esthetician, nurse, and mom of four, rendering and working with traditional fats is something I do regularly in my own home. This method is the exact process I use when making our grass-fed tallow balms.
Making your own tallow at home starts with quality raw beef fat, typically leaf fat (suet) or fat trimmings from grass-fed cattle. Once completely rendered, tallow can be used for frying (it makes incredible French fries), sautéing, soap making, or nourishing skincare products.
It might sound technical, but rendering tallow is actually very straightforward. The key is low heat, patience, and proper straining.
For the highest quality finished tallow, sourcing grass-fed beef fat is recommended, as it contains higher levels of stable fatty acids like stearic acid.

For the best quality tallow, sourcing from grass-fed beef is recommended, as it contains higher levels of beneficial nutrients like stearic acid.
How to Render Beef Tallow (Quick Summary)
If you want the simple overview before we dive deeper, here’s the full rendering process in order:
- Trim raw beef fat into small pieces (or pulse in a food processor).
- Choose wet or dry rendering.
- Heat low and slow (200–250°F is ideal).
- Stir occasionally to prevent sticking.
- Continue heating until cracklings are golden and bubbling slows.
- Strain through a metal strainer to remove large solids.
- Strain again through cheesecloth for a cleaner finish.
- Allow to cool completely until solidified.
- Re-melt and strain again if you want an extra-pure result.
That’s it. Rendering is simple — the key is low heat and patience.
What is Rendering?
The rendering process is the slow melting of animal fats (typically raw beef fat or leaf fat) to separate pure liquid fat from connective tissue, moisture, and impurities.
As the fat renders:
• Solid fat melts into clear liquid fat
• Water evaporates
• Proteins and tissue sink
• Impurities separate
When complete, you’re left with clean rendered tallow that solidifies at room temperature and melts at low heat.
Proper rendering helps preserve the natural fatty acids found in grass-fed beef tallow, including stearic acid and small amounts of linoleic acid, which contribute to its stability and high smoke point.
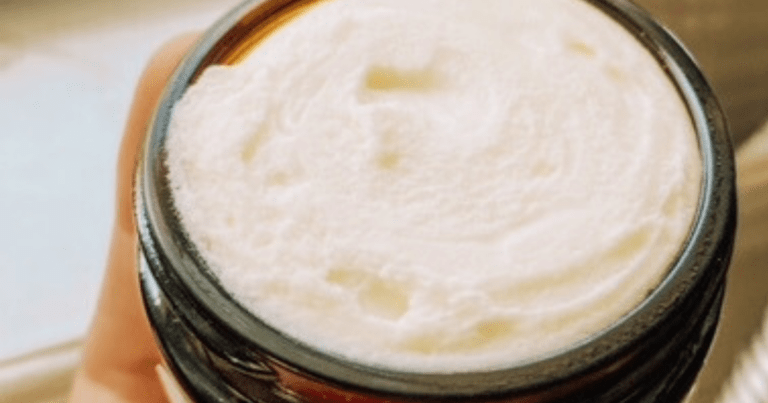
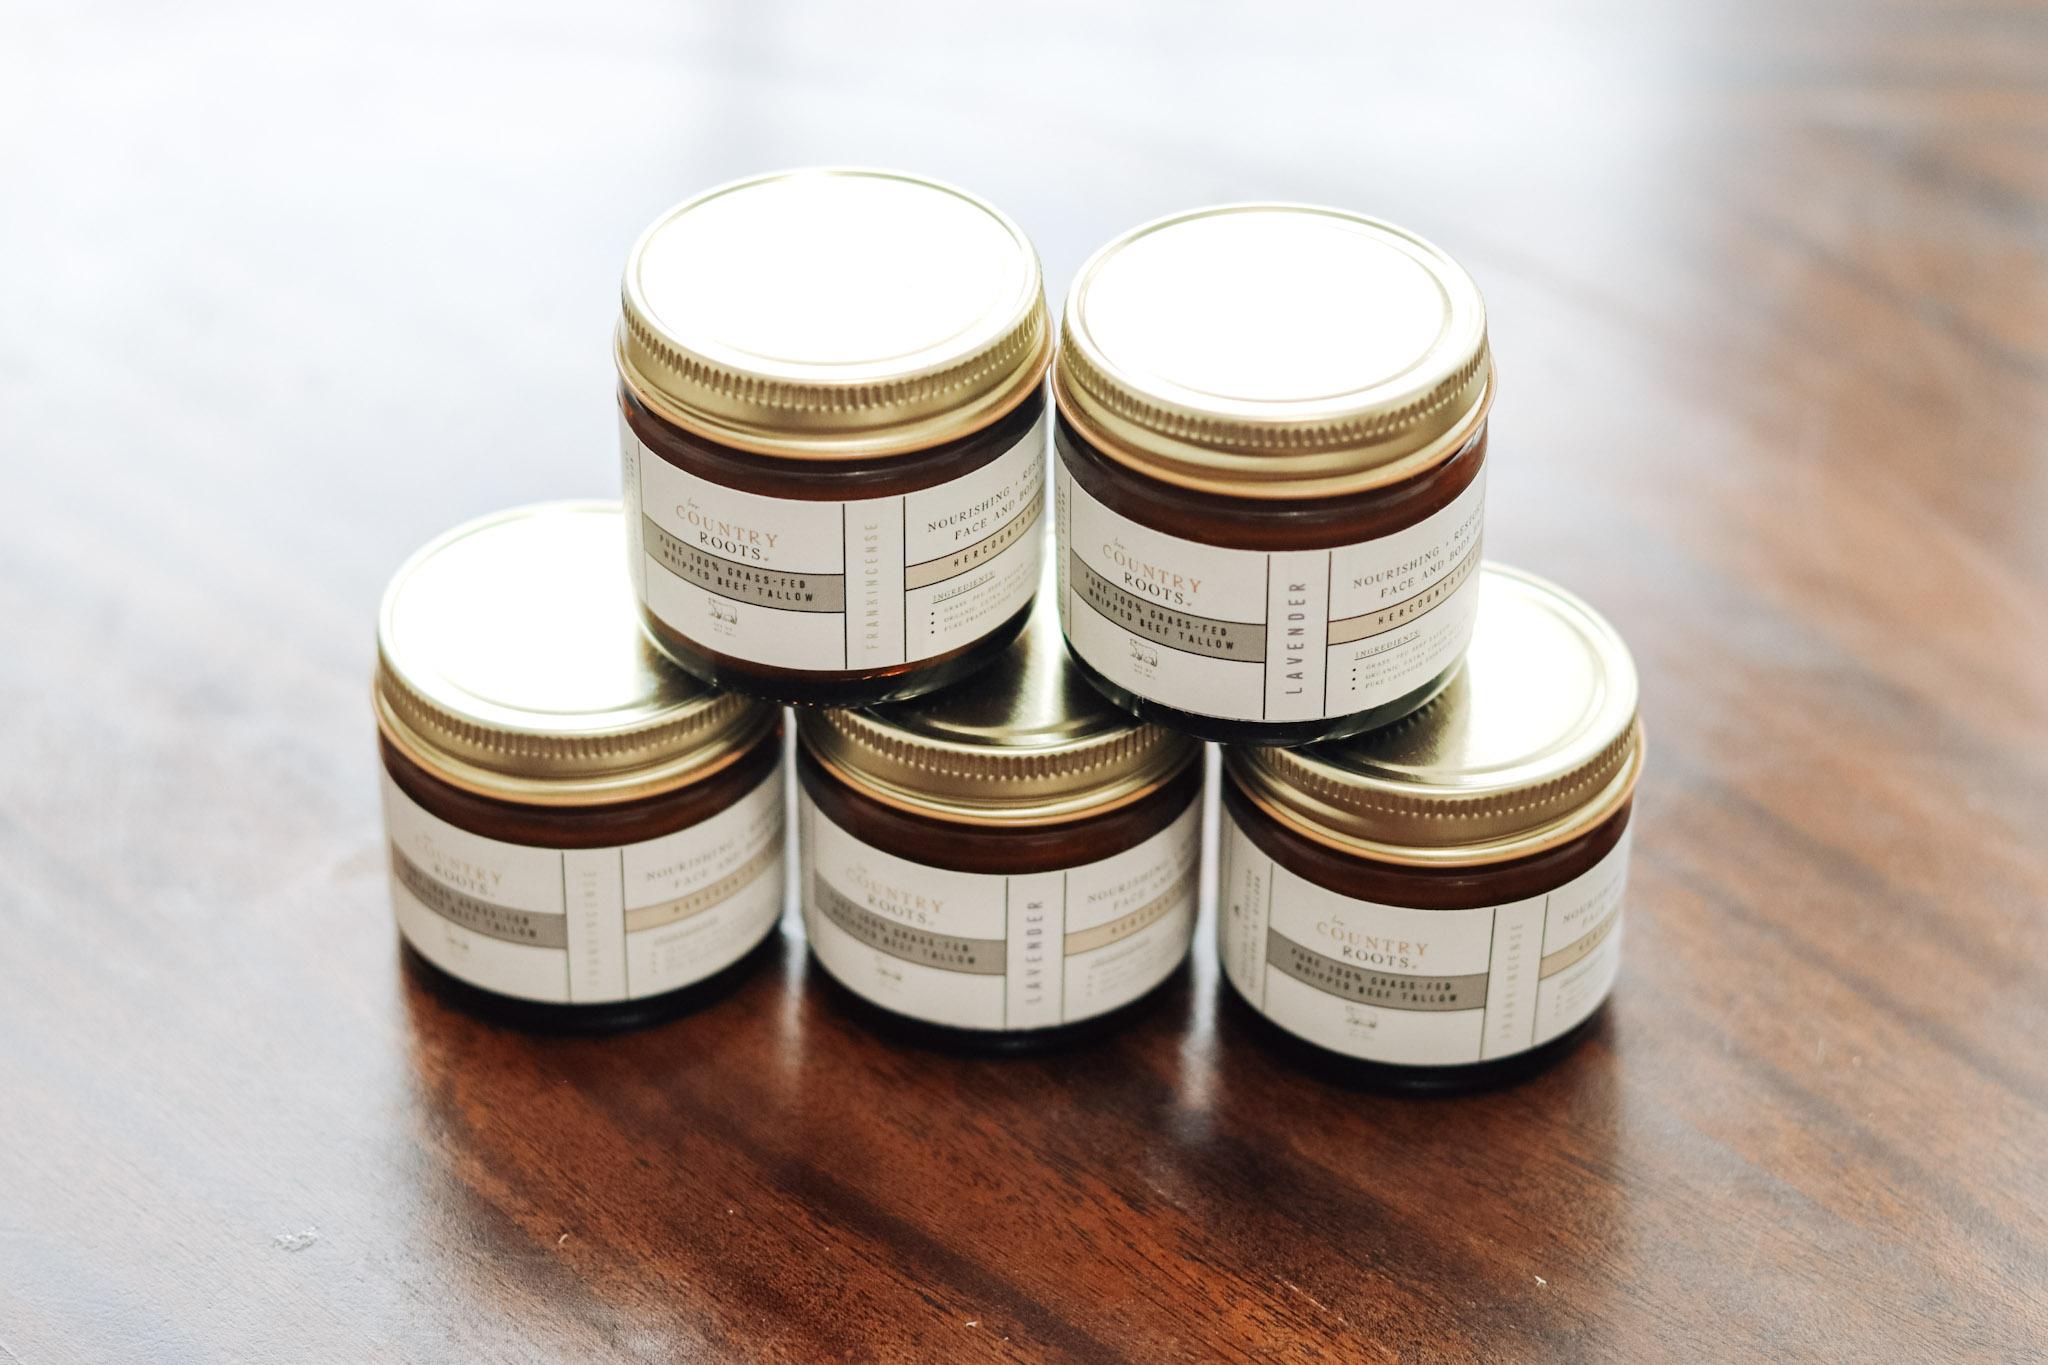
Rendered tallow can be used for cooking or skincare products like these in our shop (example: Her Country Root’s Pure, Unscented Grass-Fed Tallow Balm).
Leaf Fat vs Suet vs Trim Fat (Which is Best)
Leaf fat (the hard fat surrounding the kidneys) produces the cleanest, smoothest final product and is preferred for skincare-grade tallow.
Suet is often used interchangeably with leaf fat, but some butchers label all hard fat as suet.
Fat trimmings can still make excellent rendered tallow, but may require additional purification due to more connective tissue.
If you want the highest quality finished tallow, start with leaf fat from grass-fed cattle.
For the best results, opt for grass-fed beef tallow from pasture-raised cows to ensure higher concentrations of beneficial fatty acids like linoleic acid.
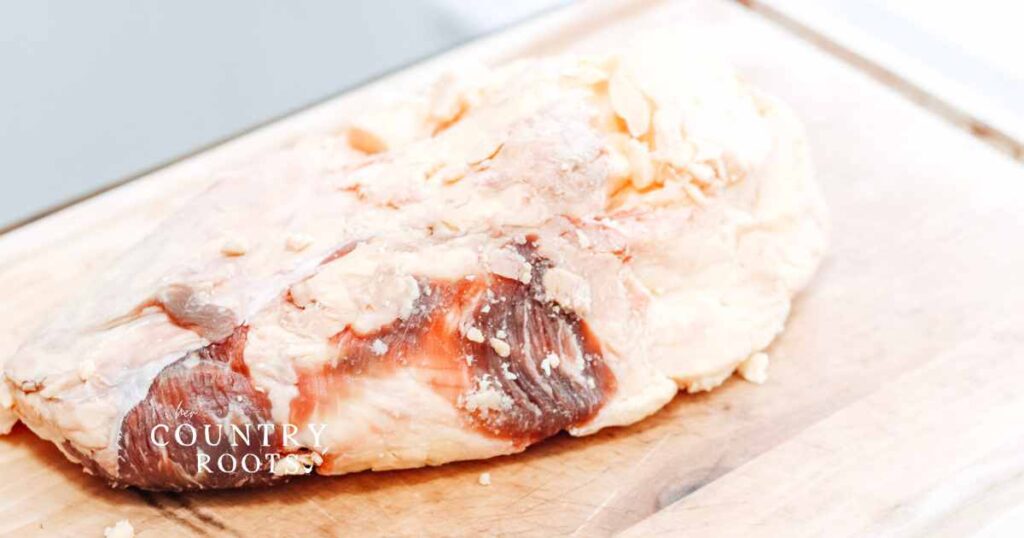
You can ask your local butcher for fat trimmings or purchase them from a grocery store known for quality meat products.
And, of course, when you are ready to render tallow, you might find that leaf fat is considered the best choice due to its higher concentration of pure fat (which results in a smoother and cleaner final product).
Who This Method Is Best For
This method works well if you:
• Raise your own beef
• Buy fat from a local butcher
• Want to make your own tallow balm
• Prefer traditional fats over vegetable oils
• Want full control over ingredient quality
Rendering Tallow
Let’s start with the basics of rendering tallow so that you can make tallow balms and products right from your home!
This post/course contains affiliate links, meaning I may earn a small commission at no extra cost to you if you purchase through the links provided. I only recommend products and services I personally use, love, or believe will add value to your journey. Thank you for supporting Her Country Roots!
What You’ll Need to Render & Purify Tallow
But first! Try our Grass-Fed Whipped Tallow handcrafted in small batches and made right here in our kitchen!
Is it Better to Render Tallow Wet or Dry?
Both methods ultimately produce high-quality rendered tallow when temperature is kept low and the fat is properly strained. When it comes to deciding whether to render tallow wet or dry, several factors come into play, including personal preference and available equipment.
Wet Rendering Method
Wet rendering is the process I use for Her Country Roots Tallow. It involves simmering the raw beef fat in hot water until the fat melts and separates from the tissue, producing a hot liquid fat.
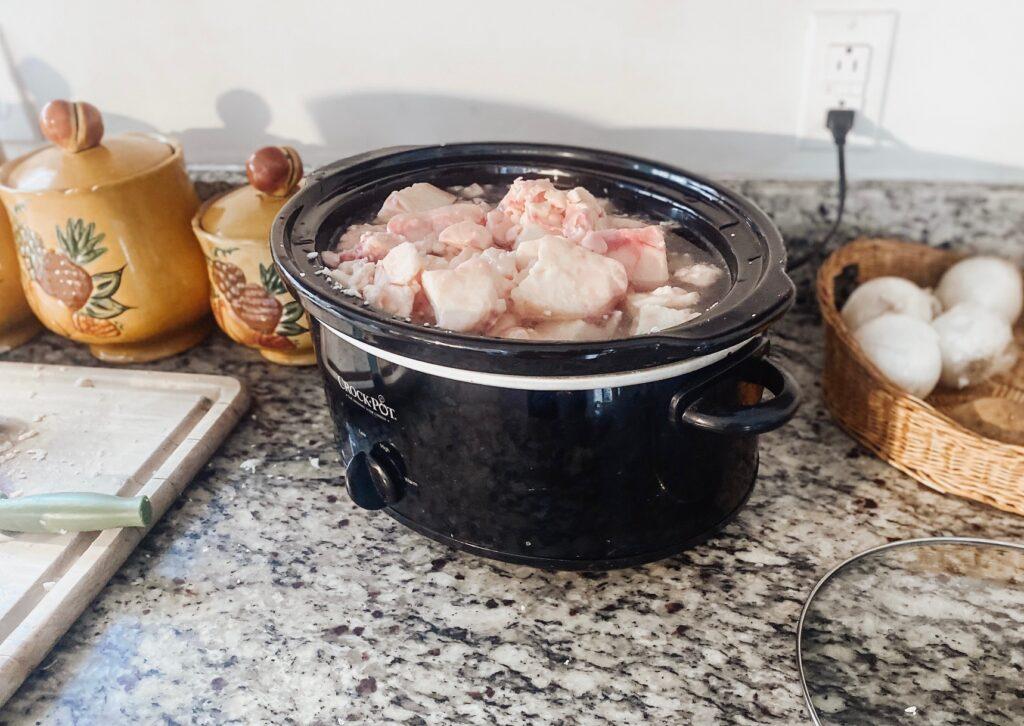
This method is ideal if you’re looking for a straightforward process and is often favored because it’s super simple, especially for first-time renderers.
Dry Rendering Method
On the other hand, dry rendering entails melting the fat without water, typically using a low heat method such as in a crockpot or large stockpot.
This method allows for more control over the temperature and is preferred by some for its ability to produce a higher concentration of rendered tallow.
Regardless of the method chosen, both wet and dry rendering ultimately yield a final product with a high smoke point and versatile applications in cooking and skincare.
If you’re new to rendering, the wet method tends to be the most beginner-friendly.
How to Render Beef Tallow (Step-by-Step)
Preparation
Start by making sure the raw beef fat is at room temperature for easier handling. Cut the animal fats into small pieces or use a food processor to increase the surface area.
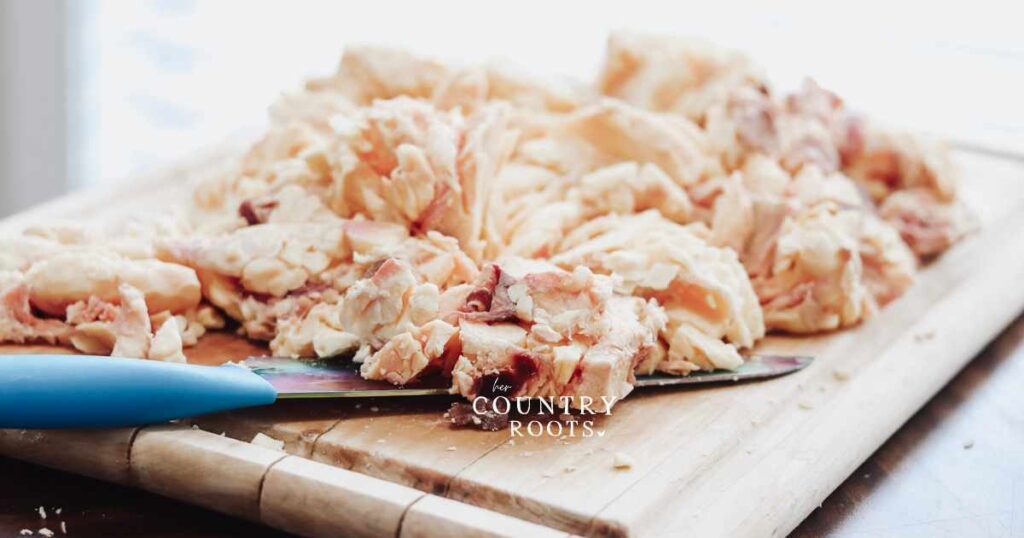
Choose Rendering Method
You can use the wet or dry method. So first, decide between wet or dry rendering.
For wet rendering, use a crockpot or large stockpot and add fresh water.
You want enough water to cover the fats. For dry rendering, just place the fat pieces in a large bowl or metal bowl without adding water.
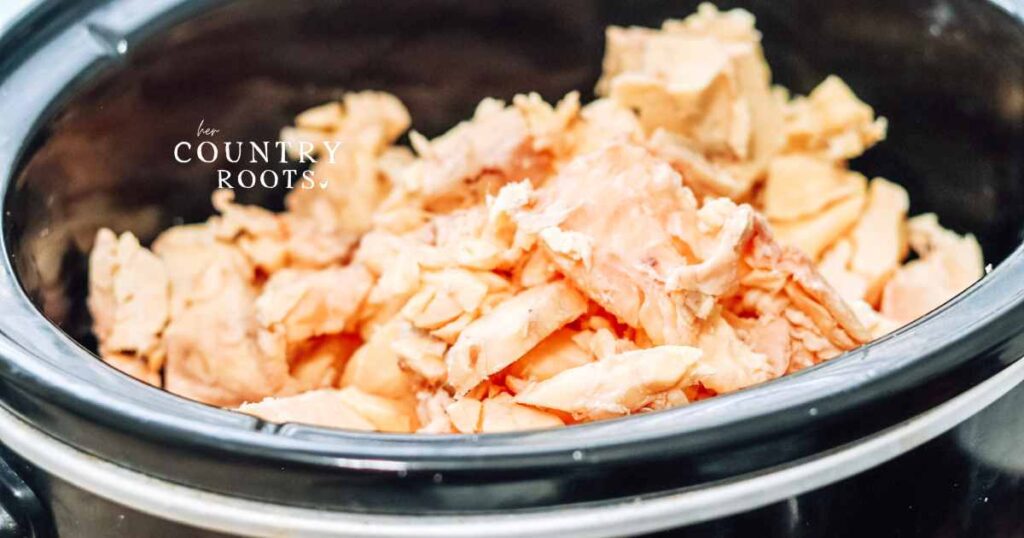
I find myself using the wet method pretty often. But either is great!
Ideal Temperature for Rendering Tallow
The most important part of rendering is keeping the temperature low and steady.
• Ideal range: 200–250°F
• Avoid exceeding 300°F
• Never allow the fat to smoke
Tallow begins melting well below boiling point, so high heat is unnecessary.
Overheating can:
• Darken the final product
• Reduce nutrient quality
• Cause uneven texture
Low and slow always wins when rendering beef fat.
Strain (Double Strain)
Once your beef fat has fully melted, it’s time to strain the liquid tallow to remove any impurities. Grab a standard kitchen strainer or colander and pour the melted fat through it into a large bowl, catching the larger bits (called cracklings) and setting them aside.
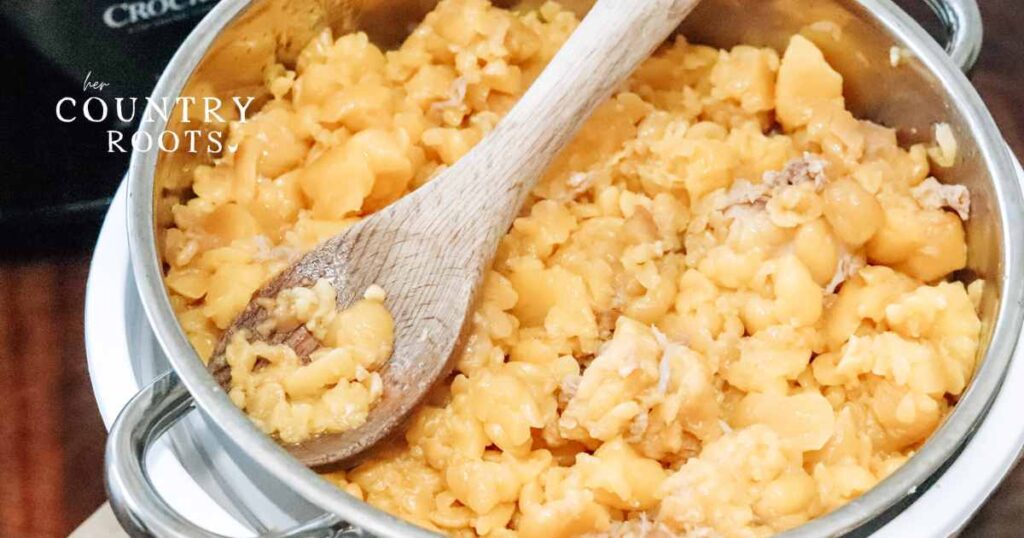
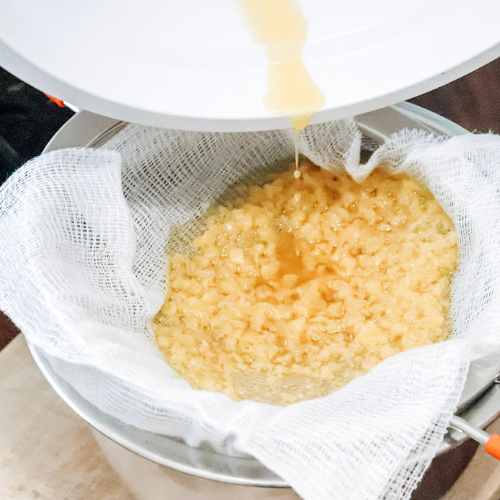
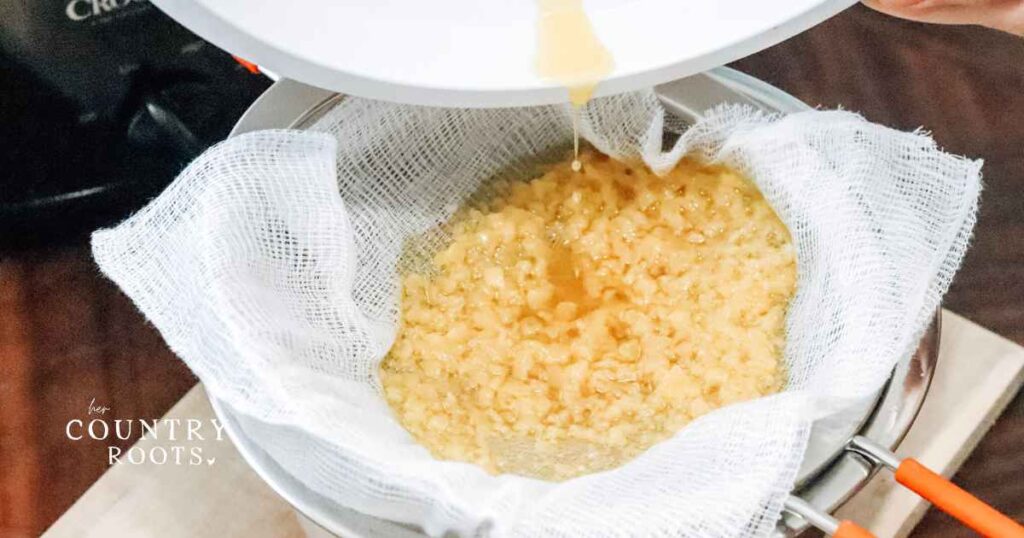
Take the strained liquid from the bowl, which may still have smaller particles, and run it through a fine mesh strainer lined with cheesecloth.
This step ensures a smooth and pure result by filtering out any remaining solids. This will remove any bits of meat or impurities, leaving you with rendered fat.
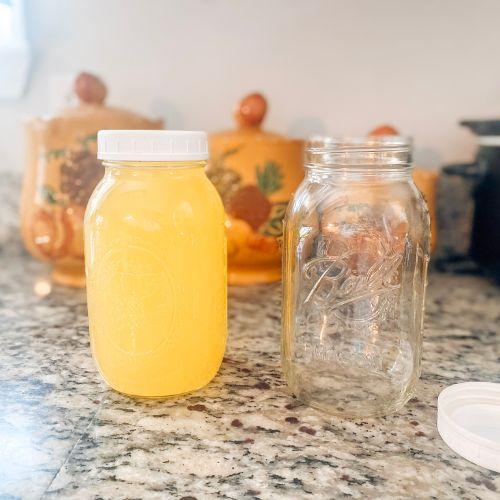
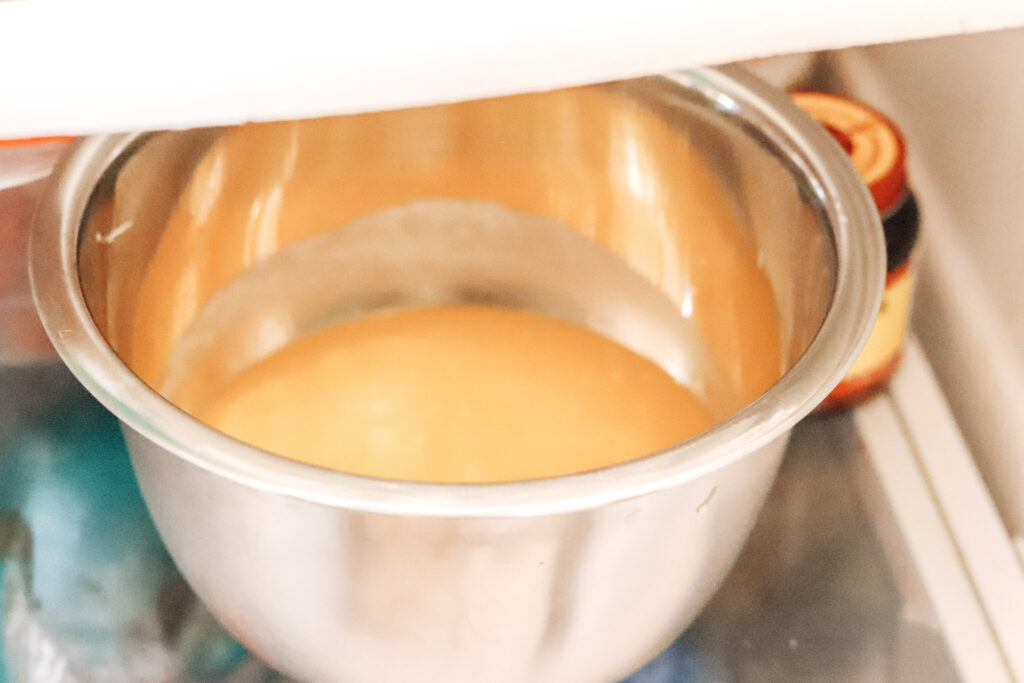
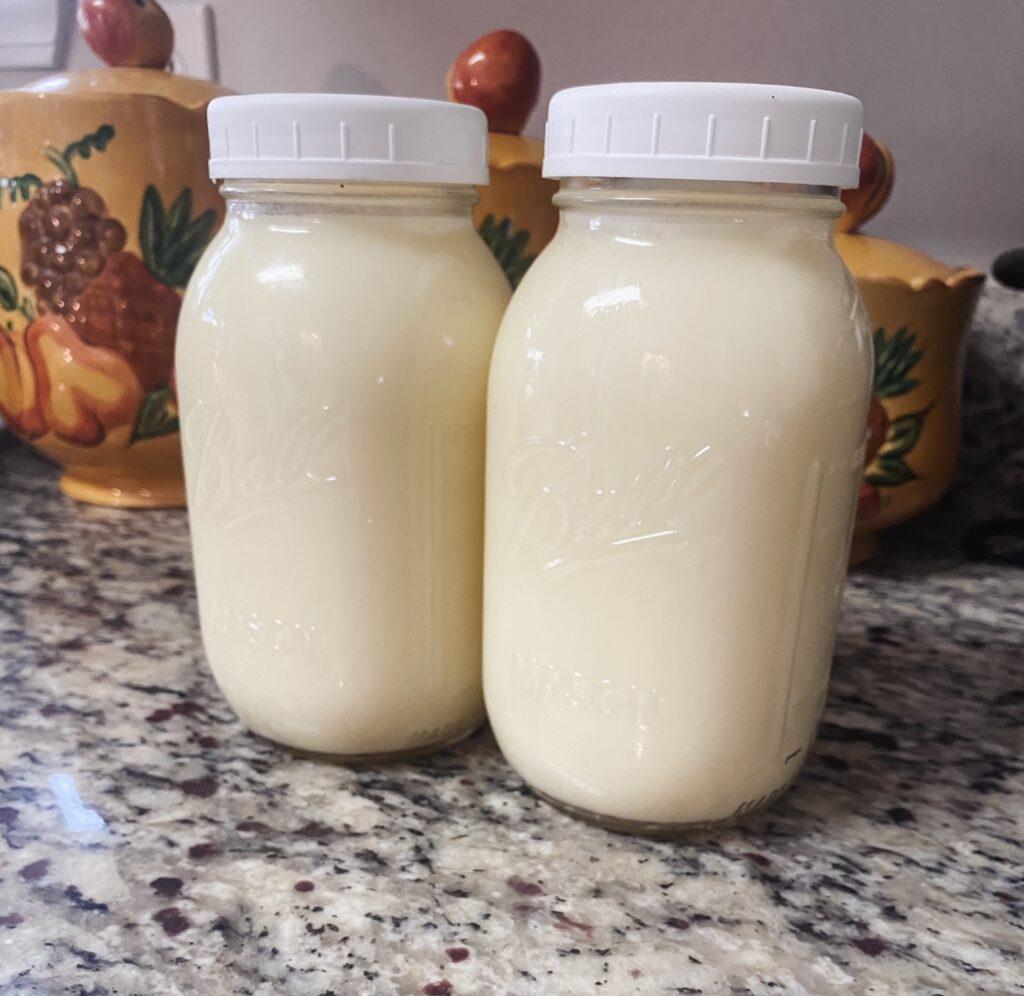
Once strained, pour the filtered liquid into a clean container, wide mouth mason jar, or large pot and place it in the fridge to cool and harden for a few hours.
How Do You Know When Tallow Is Fully Rendered?
You’ll know your tallow is finished rendering when:
• The bubbling significantly slows
• The cracklings turn golden brown
• The fat appears clear, not cloudy
• Most moisture has evaporated
If the cracklings are still soft and pale, keep going.
If they are dark brown and crispy, rendering is complete.
Patience produces the cleanest final product.
Wet vs Dry Rendering (Side-by-Side Comparison)
Both methods work beautifully, but here’s how they compare:
| Feature | Wet Rendering | Dry Rendering |
|---|---|---|
| Water Used | Yes | No |
| Ease for Beginners | Very easy | Moderate |
| Temperature Control | More forgiving | Requires attention |
| Final Texture | Very clean | Slightly richer |
| Best For | First-time renderers | Experienced homesteaders |
| Cooking Use | Excellent | Excellent |
| Skincare Use | Excellent | Excellent |
How to Purify Tallow (For a Cleaner, Cosmetic-Grade Finish)
After your first strain, your tallow is fully usable for cooking.
For skincare or soap making, an additional purification step can improve texture and clarity.
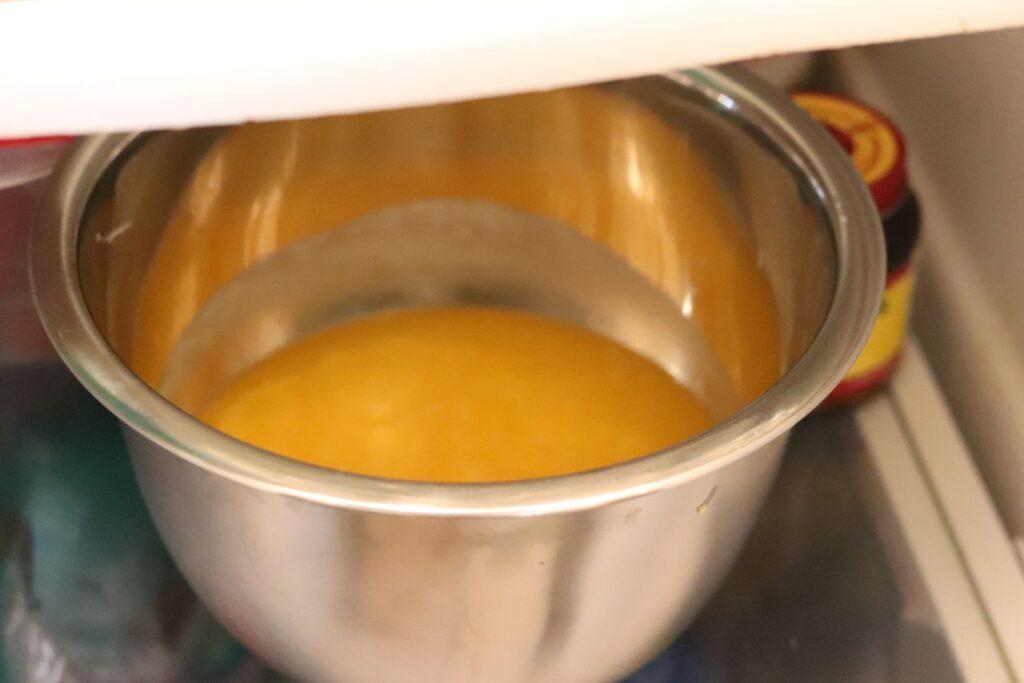
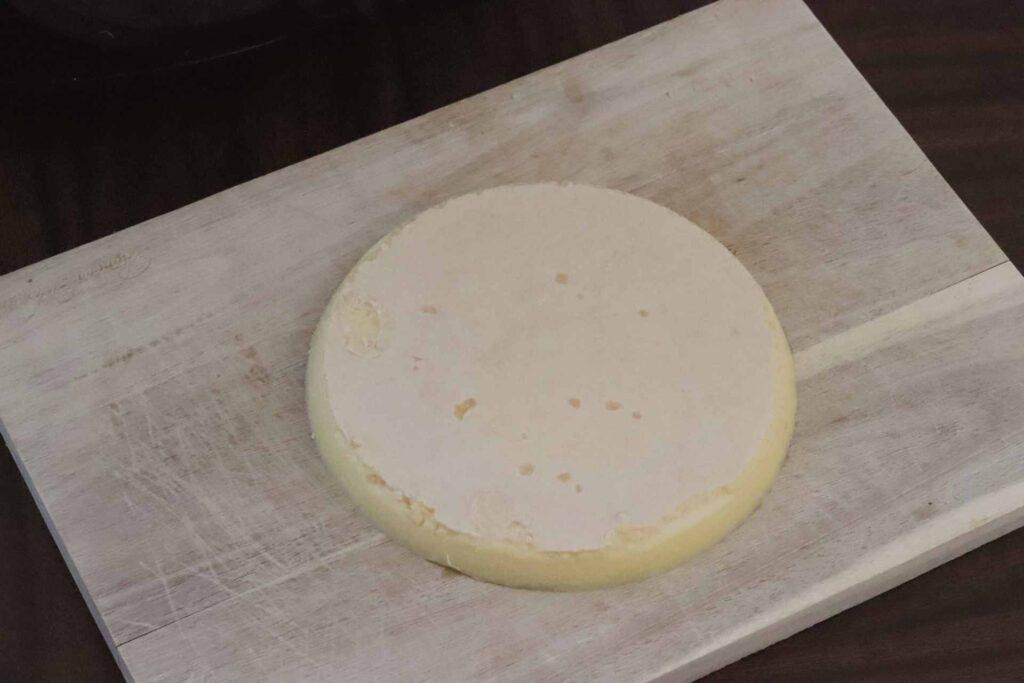
Step 1: Chill Completely
Allow the strained tallow to cool until fully solid. A firm “tallow cake” will form on top.
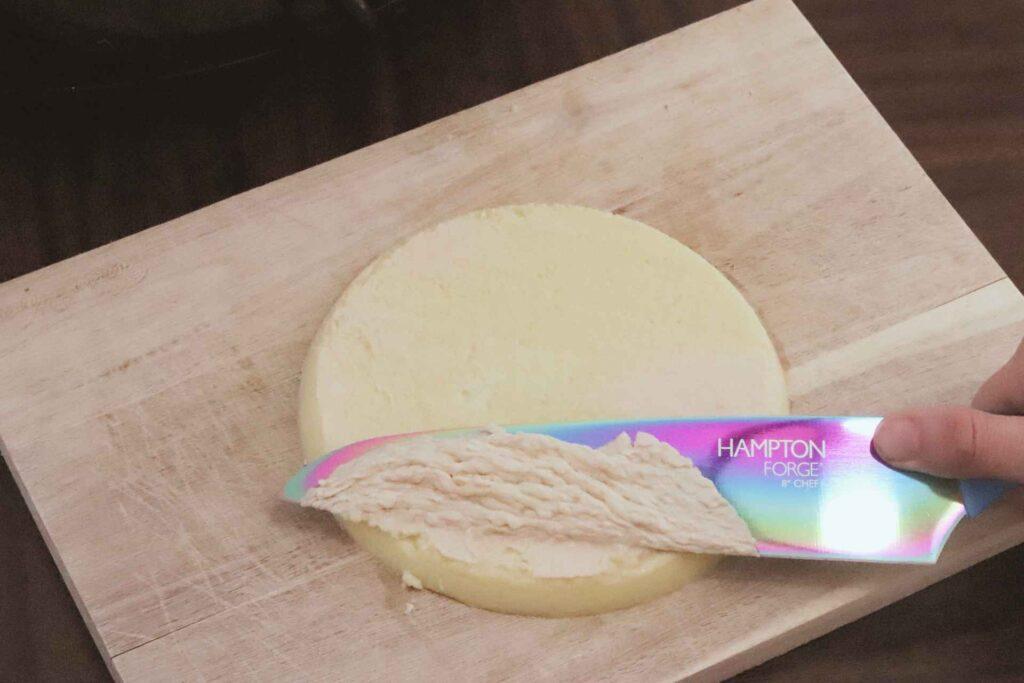
Step 2: Scrape Sediment
Flip the hardened tallow over and scrape off any darker sediment from the underside. This removes residual impurities and connective tissue.
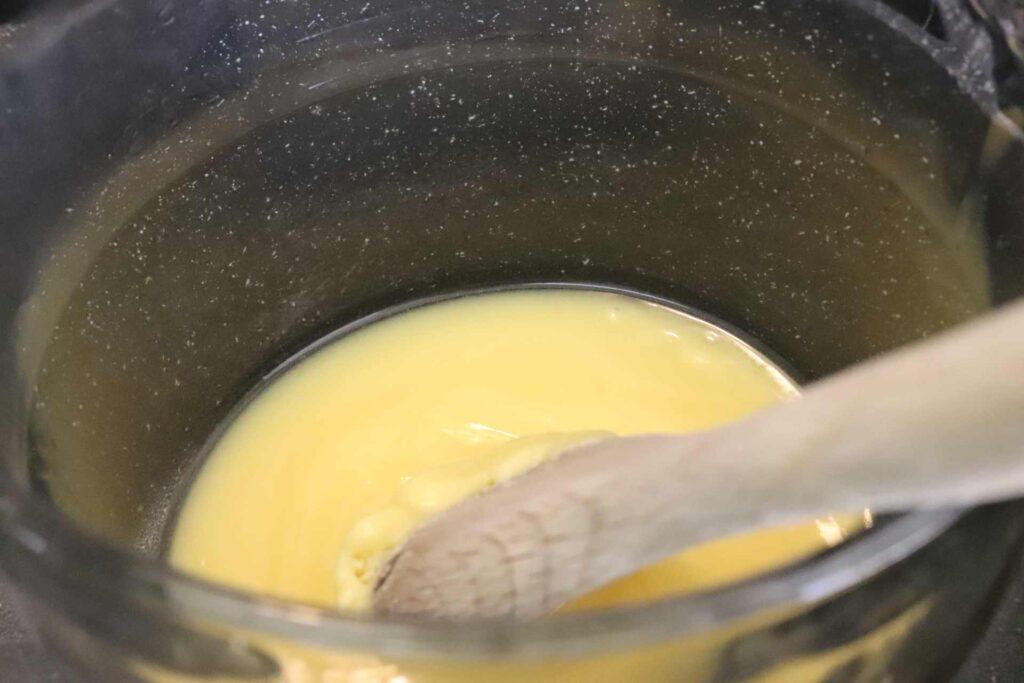
Step 3: Re-Melt Gently
Place the clean portion into a double boiler or heat-safe bowl over very low heat.
Step 4: Strain Again
Pour through a fine mesh strainer lined with cheesecloth to remove any remaining particles.
Optional: Repeat once more for ultra-clean results.
Do You Need to Purify Tallow?
Purifying tallow involves further refining the fat to remove impurities and sediment.
While it’s not always necessary for cooking, purifying can enhance the quality of the final product, especially for skincare applications like our tallow balm/tallow face cream.
Purification improves:
• Color
• Texture
• Stability
• Smoothness for balm and soap recipes
How Long to Purify Tallow?
The duration of the purifying process can vary depending on factors such as the initial quality of the tallow and the desired level of purification.
Most purification cycles take 30–60 minutes once the tallow is melted. Additional rounds may extend the process.
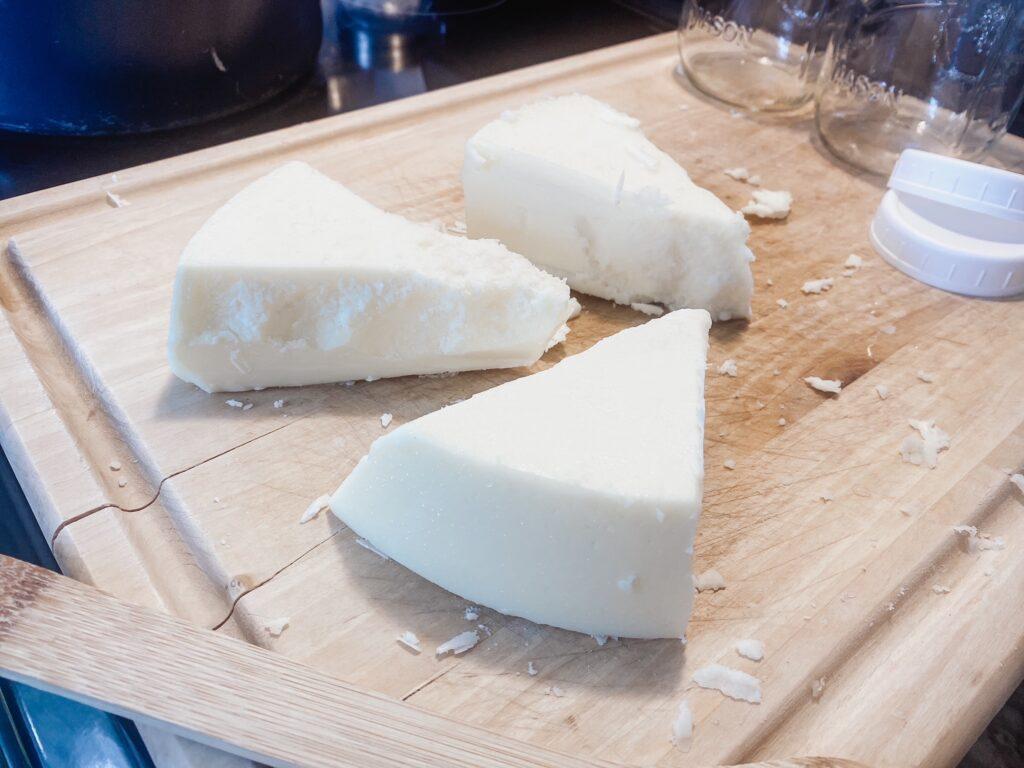
How to Store Rendered Tallow (Shelf Life Guide)
Proper storage helps your tallow stay fresh for months.
At Room Temperature
• Store in a clean, airtight glass jar
• Keep in a cool, dark cabinet
• Shelf life: 3–6 months
Refrigerated
• Extends freshness
• Shelf life: 6–12 months
Frozen
• Best for long-term storage
• Shelf life: 1+ year
Rendered tallow is naturally stable because it contains no water once properly purified. Always use dry utensils when scooping to avoid contamination.
Common Rendering Mistakes to Avoid
• Using high heat — causes dark color and uneven texture
• Not cutting fat small enough — extends rendering time
• Skipping double strain — leaves sediment
• Allowing water into storage jars — causes mold
• Storing in warm areas — shortens shelf life
FAQ: Rendering and Purifying Beef Tallow
What If My Tallow Still Smells Strong?
If your tallow has a strong beefy scent even after careful rendering, that’s a separate issue.
I walk through exactly how to fix that here:
👉 How to Take the Beef Smell Out of Tallow
How long does it take to render beef tallow?
Rendering typically takes 2–4 hours depending on the amount of fat and method used. A slow cooker on low may take longer but requires less attention.
What temperature should you render tallow at?
The ideal rendering temperature is between 200–250°F. Avoid exceeding 300°F to maintain quality.
Can you render tallow in a crockpot?
Yes. A crockpot on low heat is one of the easiest and safest methods for beginners.
Can you render tallow in the oven?
Yes. Spread small pieces of fat on a baking sheet and bake at 225°F, stirring occasionally until fully melted.
Do you need to purify tallow for cooking?
Not necessarily. Once strained, tallow is ready for cooking. Additional purification is optional and often preferred for skincare use.
Why is my rendered tallow dark?
Dark tallow usually results from overheating or leftover impurities. Lower temperatures and double straining help produce a lighter color.
How long does rendered tallow last?
When stored properly in airtight containers, rendered tallow can last 6–12 months or longer.
How do you purify rendered tallow without water?
Chill, scrape sediment, re-melt on low heat, and strain again. This removes impurities without a salt-water wash.
Why is my tallow grainy?
Graininess can result from temperature swings during cooling. Slow cooling at room temperature often produces a smoother texture.
Does rendering tallow smell bad?
I’ve found that rendering tallow can definitely smell pretty strong. Ask me how I know (haha).
Some often describe this smell as unpleasant or “meaty.” This odor is a result of the fats and proteins breaking down during the rendering process.
Some folks don’t mind it too much, but others find it pretty off-putting. Just make sure you’ve got some good ventilation going on, maybe crack a window or turn on a fan to help clear the air.
In Summary
Tallow is a versatile and traditional fat that has been used for centuries in cooking and skincare. Rendering tallow can be done in a crockpot or on the stove, with options like leaf fat yielding particularly high-quality tallow.
Grass-fed beef tallow is a great source of healthy fats and can be used to make various products, including tallow balm for skincare.
Finding reputable suppliers can help you obtain quality ingredients for rendering your own meats into tallow. The process involves heating the fat until it melts, which can be done in an instant pot, on the stove, or in a crockpot at higher temperatures.
After the fat renders, it’s strained and allowed to cool in a cool place before being stored as the finished product.
Tallow can be stored in airtight containers or even salt water for preservation. Even if you’re rendering tallow for the first time or looking to replenish your supply, making your own is an easy way to obtain a great source of grass-fed tallow without the extra cost associated with purchasing it from a butcher shop.
And, of course, we’d love you to try our pure, grass-fed tallow balms in the meantime!
With love,
Kacie from Her Country Roots

About The Author

Kacie is a wife, homeschool mom of 4 boys, holistic esthetician, and a sixth-generation homesteader with a passion for natural and sustainable living, creating a home that educates the mind and nurtures the soul, and reclaiming our independence like our ancestors before us.