Last Updated on 12/15/2025 by hercountryroots
There’s just something about pulling a golden-brown, fluffy loaf of homemade sandwich bread from the oven that makes you feel like you’ve conquered the world—or at least the kitchen. Store-bought bread might be convenient, but nothing compares to the smell of yeast bread rising in a warm place, the feel of bread dough coming together under your hands, or the satisfaction of slicing into your very own sandwich bread made with simple ingredients like purpose flour, olive oil, and a little bit of patience.

This isn’t artisan bread with a complicated rise time.
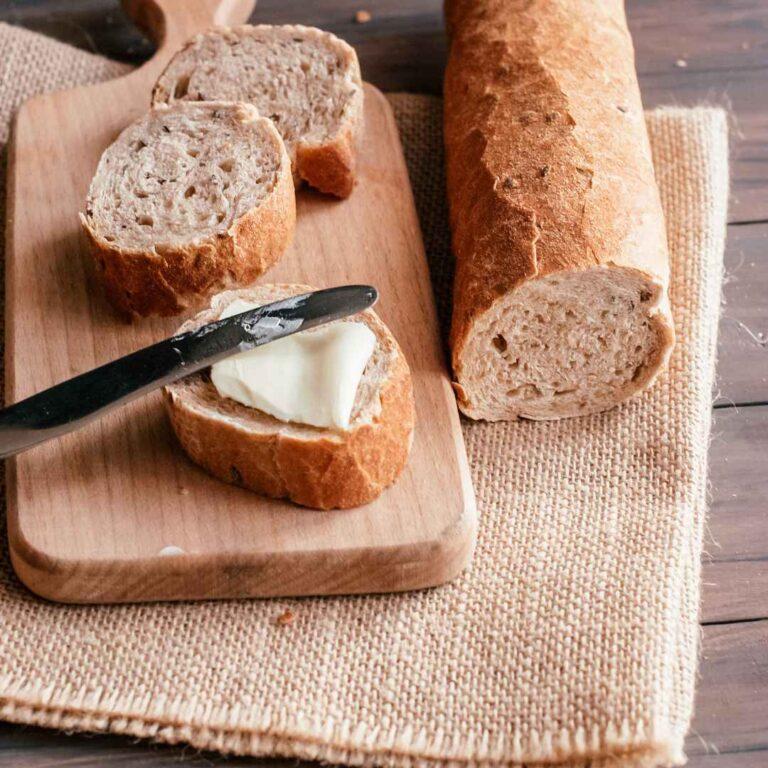
This is your go-to easy sandwich bread recipe—a great way to ditch the plastic bag and start making your own bread at home. Even if it’s your first time or you’re a seasoned pro, this is the perfect loaf for French toast, PB&J, grilled cheese, or just slathering with melted butter and honey straight off the cooling rack (my favorite).
Let’s talk about how this from scratch loaf bread recipe’s rise, roll, and bake process can turn basic ingredients into a delicious sandwich bread that’s perfect for your family and makes store-bought bread a thing of the past, shall we?
Is it Worth Making Your Own Sandwich Bread?
Absolutely. There’s something satisfying about making your own sandwich bread. You know exactly what’s going into it—simple ingredients like bread flour, water, and yeast—without any of the preservatives or fillers you’ll find in store-bought bread.
Sure, it takes a little time, but the process isn’t as intimidating as it seems. With just a few steps—mix, knead, let it rise in a warm place, shape, and bake—you’ll end up with a perfect loaf of fresh, homemade loaf bread. And, of course, the smell of homemade bread baking in your kitchen is so comforting (or at least I think so).
Not to mention, homemade sandwich bread is versatile. Use it for sandwiches, toast, or even French toast, and the taste blows store-bought bread out of the water.
If you’re worried about the effort, there are plenty of tools like a bread machine or a bread maker that can help. But even if you go old-school with a large mixing bowl and a wooden spoon, the reward is worth every minute.
So, is it worth it? 100%. In my personal opinion, making bread is a great way to connect with the process, save money, and enjoy the unbeatable flavor of delicious sandwich bread.
Equipment You’ll Need
If you want to make things easier, a stand mixer with a dough hook attachment can save you time and effort during the kneading process. I literally can’t live without my stand mixer.
If you are serious about bread and cooking from scratch, a mixer is a must. I have a Hamilton Beach mixer and I love it. I know some of you are Kitchen Aid all the way- However, I always prefer what is going to get me results while saving me money.
But if you’re one who loves the bright colored appliances (this is me- but I’ve been trying to fight it), you might really love the Kitchen Aid mixers best.
A good-sized bowl is essential for mixing your dough, especially as it rises. I love my glass mixing bowls from Amazon.
Wooden spoons are perfect for stirring the dough when you’re combining the dry ingredients and liquids, especially if you’re making the dough by hand. You can find these anywhere. I linked to some on Amazon but I also have gotten these from my local dollar store as well as yard sales (I love a good yard sale :)) OR the dollar tree)
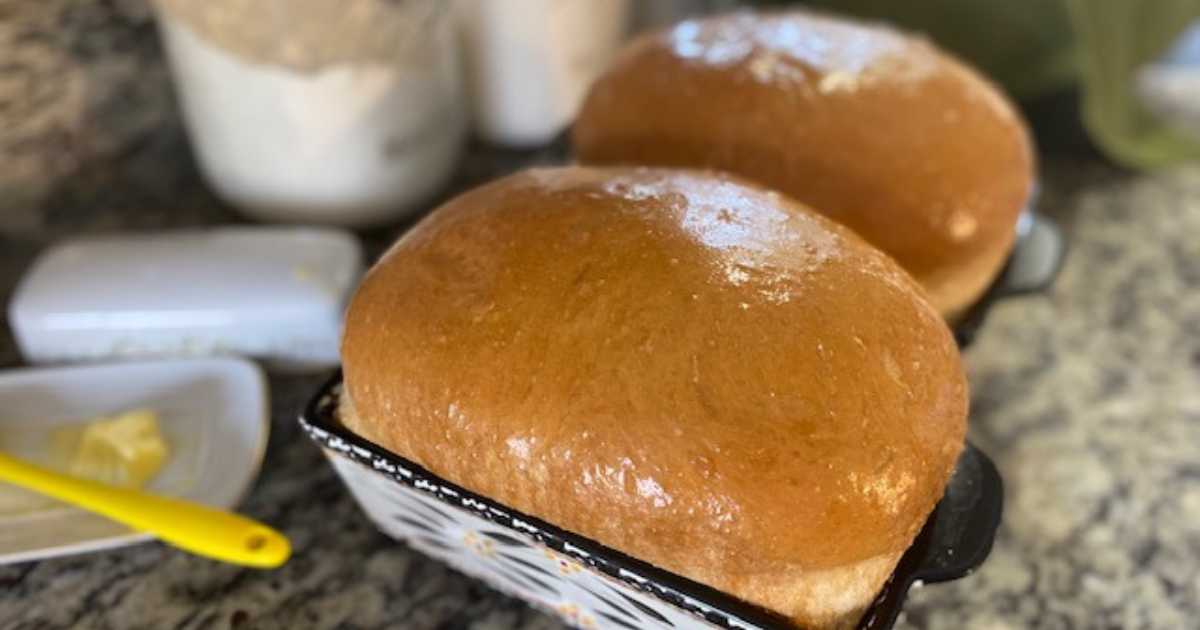
Two bread pans are needed to shape the dough into loaves. A few reasons I prefer ceramic bread pans are..
- Even, gentle heat distribution—great for slow, consistent baking.
- Holds heat well, which helps with oven spring.
- Pretty enough to go straight from oven to table. Make sure they’re greased so the bread doesn’t stick!
But whatever you have will work. Just make sure to oil it so that it doesn’t stick and you’re good to go!
A lot of people ask me where I got my bread pans. And I really wish I could tell you where they come from. My father-in-law got them for me and my husband as a wedding gift years ago. He does a lot of yard sales and thrifting so I’m pretty sure that’s where he found these.
The brand is called Temp Tations Presentable Ovenware by Tara. I found some versions of mine on Amazon. She has some beautiful ovenware.
You’ll need something to cover the dough while it rises. Greased plastic wrap works great, or a clean kitchen towel will do just fine. If using a towel, I like to wet mine so that the dough won’t stick to the top when it rises 🙂
Once your bread comes out of the oven, transfer it to a cooling rack to prevent it from getting soggy.
If you like to brush the loaves with melted butter, a pastry brush will help evenly coat the top of the bread.
Homemade Sandwich Bread Recipe Instructions
What You’ll Need
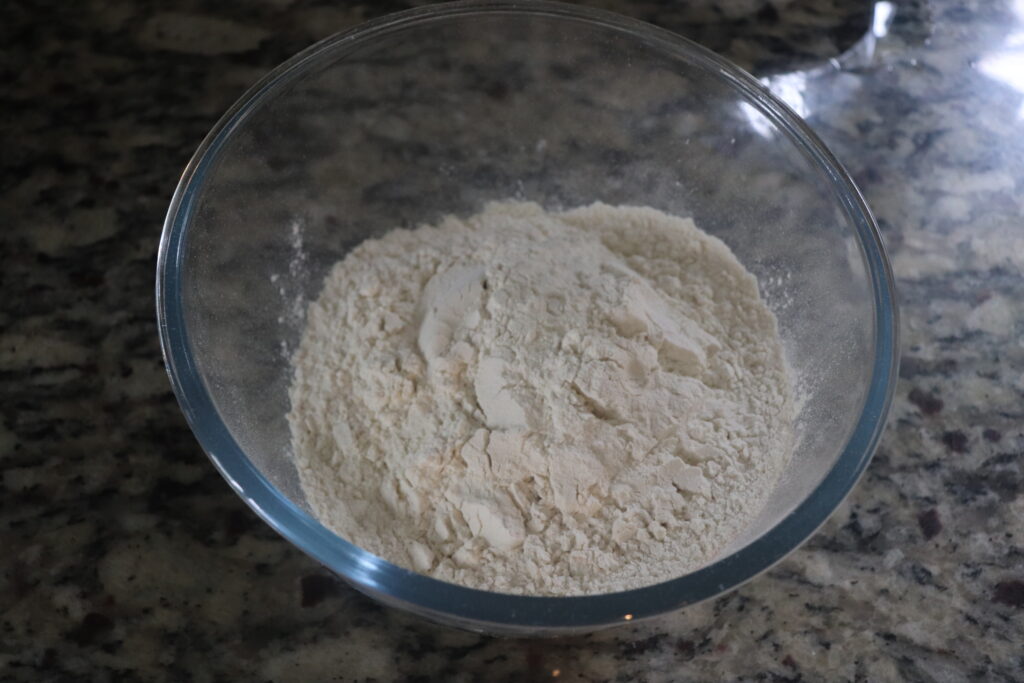
Flour
6-8 cups of flour
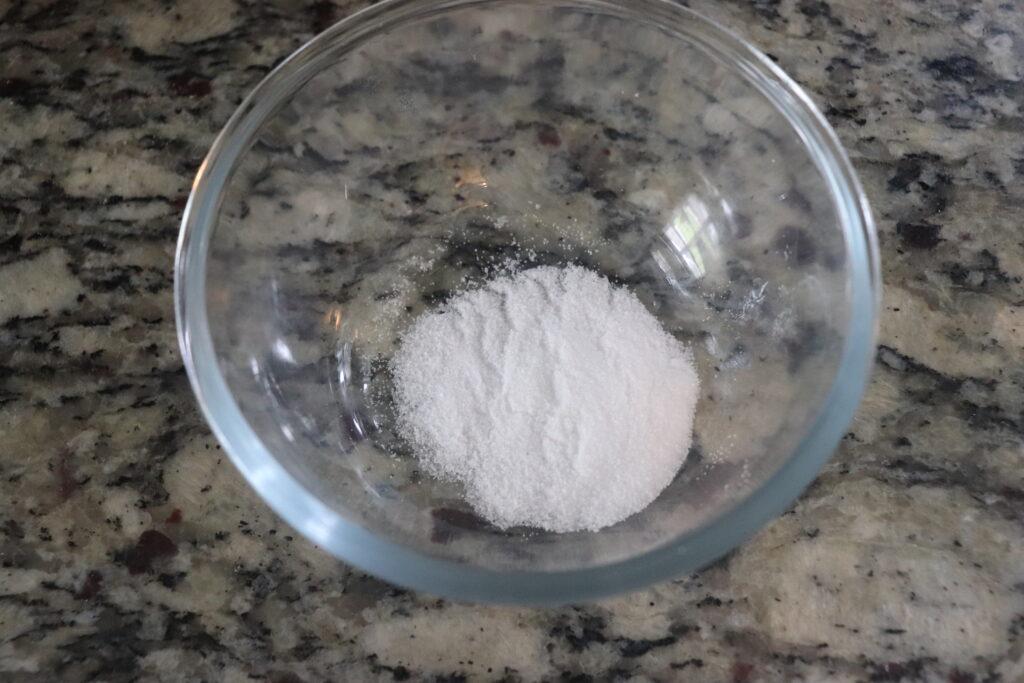
Salt
2 1/2 teaspoons salt

Instant Yeast
1 1/2 tablespoons instant yeast

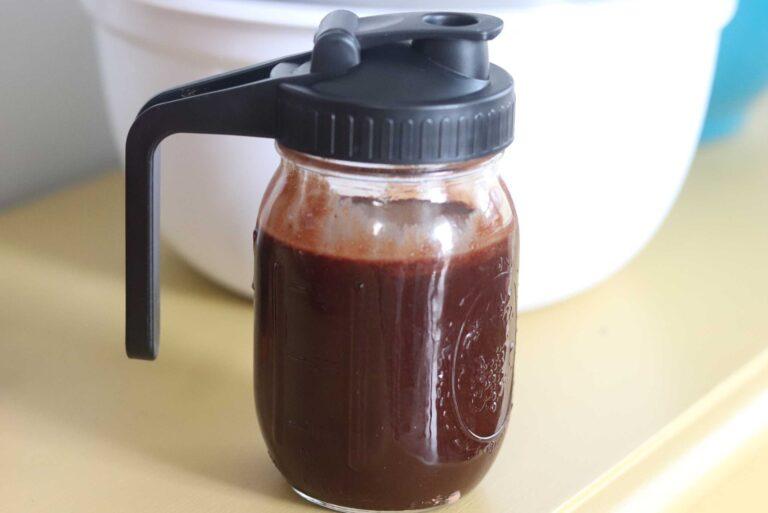
sugar or honey
1/4 cup sugar or honey
warm water
2 3/4 cups very warm water not too hot
oil
1/4 neutral-flavored oil
Step 1: Mix the Ingredients
In the bowl of your stand mixer (or a large mixing bowl if you’re doing it by hand), combine:
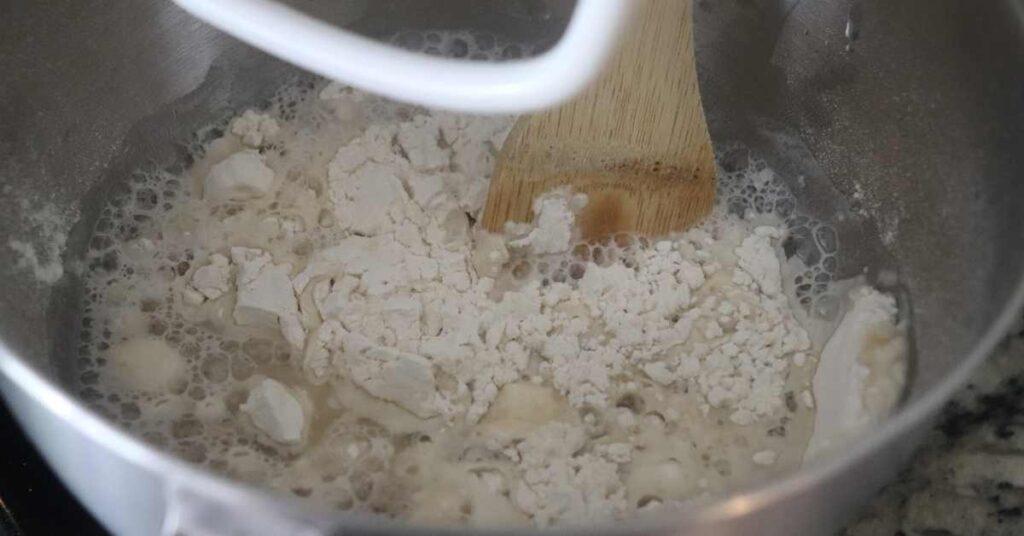
Use a wooden spoon to mix everything together. It doesn’t need to be perfect—just enough to combine the ingredients. Let the mixture sit for about 10 minutes. The yeast mixture should become bubbly, showing that your yeast is working.
10 minutes later…

Step 2: Add flour and knead
Once your yeast is active, gradually add 3 to 4 cups of flour with your mixer on low and the dough hook attachment in place. Sometimes you might need closer to 5 cups—it really just depends on your flour and the humidity in your kitchen.
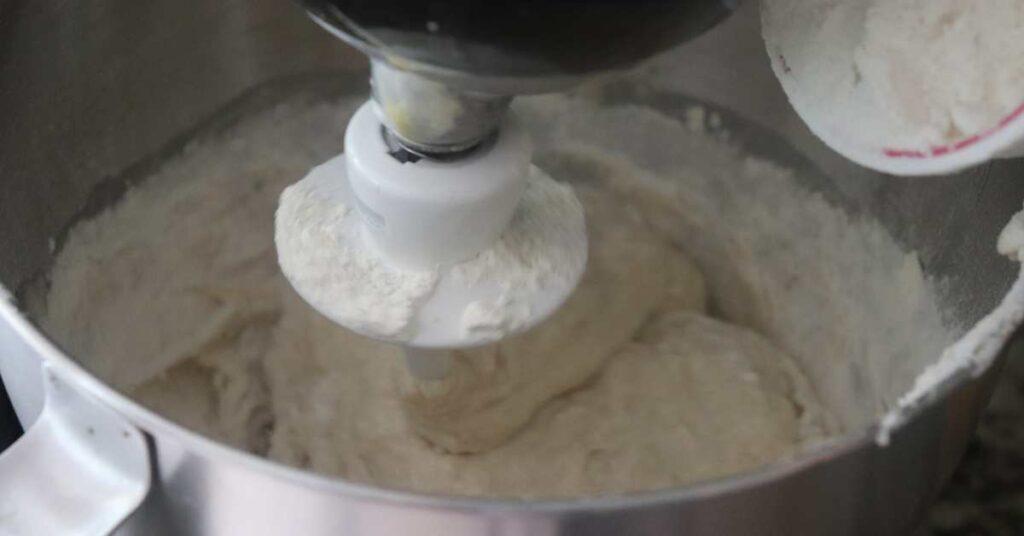
Keep adding a little at a time until the dough starts pulling away from the sides of the bowl and forms a soft, slightly tacky ball. Just let the mixer keep going while you add—it’s kneading as it mixes. You’re aiming for a smooth, elastic dough, and that can take anywhere from 4 to 6 minutes, sometimes a bit longer. If it’s too sticky, no stress—just sprinkle in a touch more flour until it feels right.

Step 4: First Rise
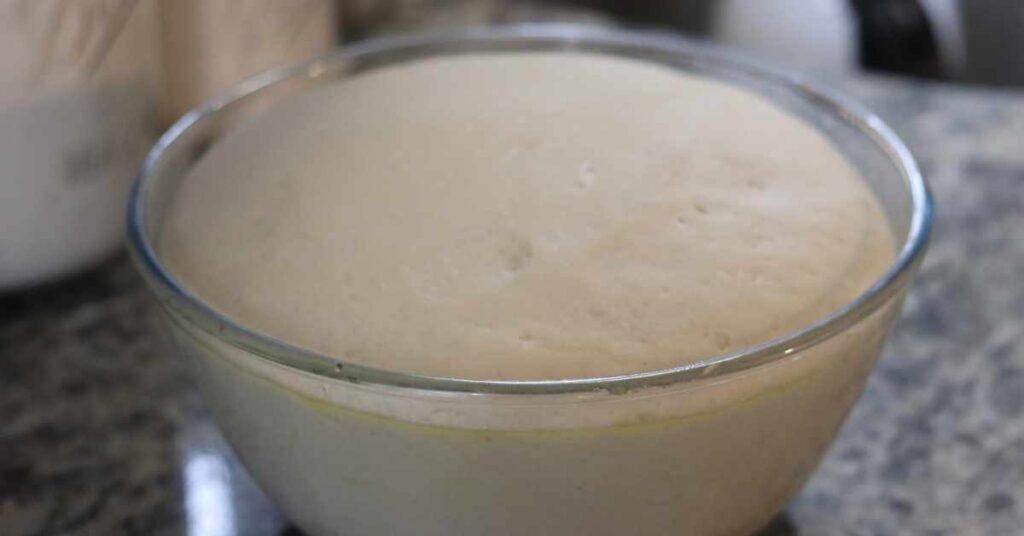
Lightly grease a large bowl big enough for the dough to double in size. Transfer the dough to the bowl and cover it with greased plastic wrap or a clean kitchen towel.

Let it rise for about 1 hour, or until it’s doubled in size. The rise time depends on how warm your kitchen is, but the dough should feel light and airy when it’s ready.
Step 5: Punch Down & Shape
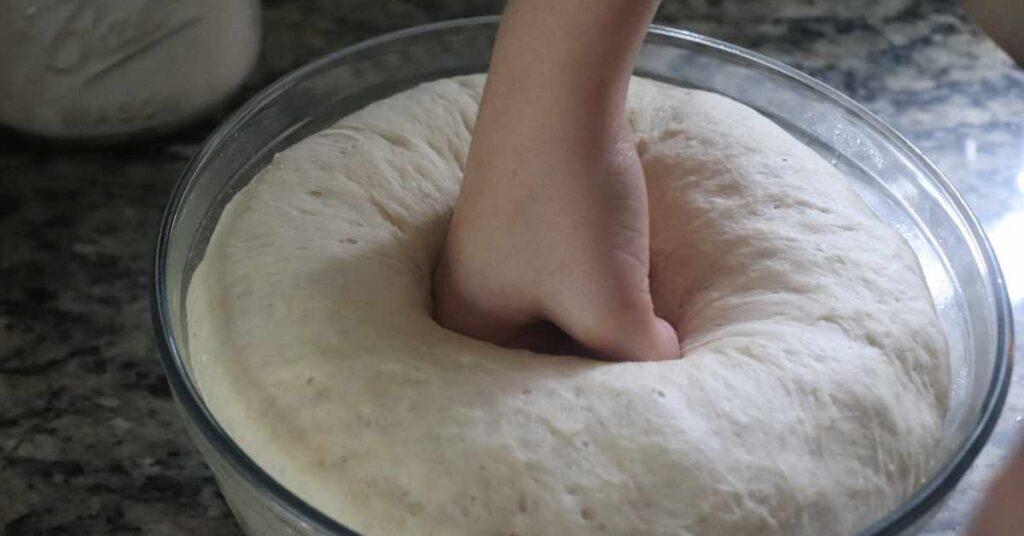

Once the dough has risen, punch it down gently to release any air bubbles.
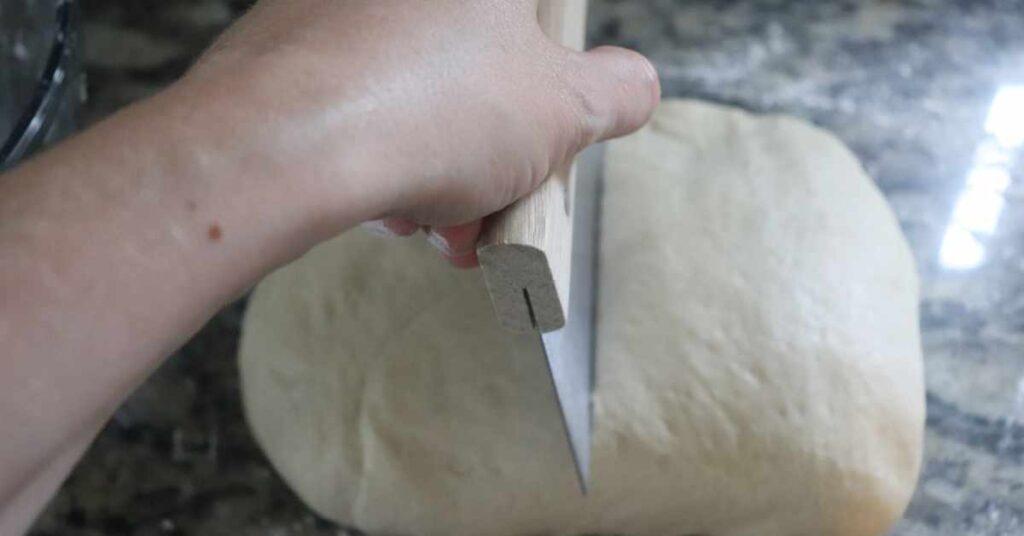
Turn the dough out onto a lightly flour surface. Use a bench scraper or sharp knife to cut the dough into two equal pieces.

Grease two 8 1/2-inch by 4 1/2-inch bread pans. Roll each piece of dough into a thick rectangle, then roll it up, pinching the seams tightly. Place the loaves in the pans and cover them with lightly greased plastic wrap or a dampened kitchen towel.

Step 6: Second Rise
Let the dough rise again until it has doubled in size and risen about 1 inch above the top rim of the pan—this usually takes about 1 hour, but keep an eye on it. The second rise is important for a light, fluffy loaf.

Step 7: Preheat & Bake
While the dough is rising, preheat your oven to 350°F. Bake the bread for 30-32 minutes, until it’s golden brown and the loaves sound hollow when tapped.

I usually let mine bake for 32 minutes for best results. I’ve tried to do 30 or 35 minutes to ease my O.C.D. in me, but 32 just makes the best loaf.
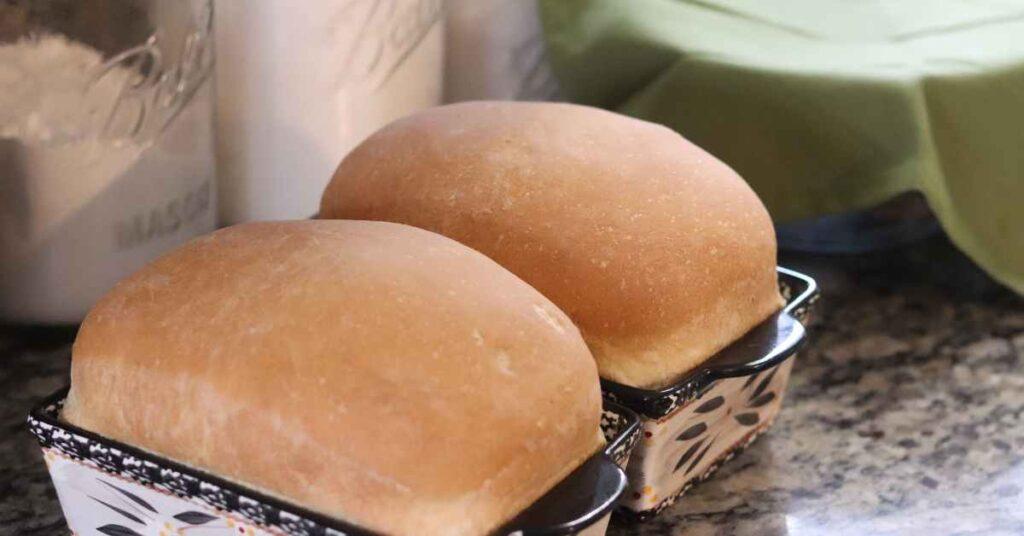
Step 8: Cool & Enjoy
Once baked, remove the loaves from the pans and immediately brush the tops with melted butter (or use a stick of butter to rub it right onto the warm bread). Let the bread cool completely on a cooling rack before slicing.


Storage Tips
Keep the bread at room temperature in a bread bag or wrapped in a plastic bag for up to a couple of days. For longer storage, freeze the loaves by wrapping them tightly in plastic and placing them in an airtight container. They’ll stay fresh for up to a month.
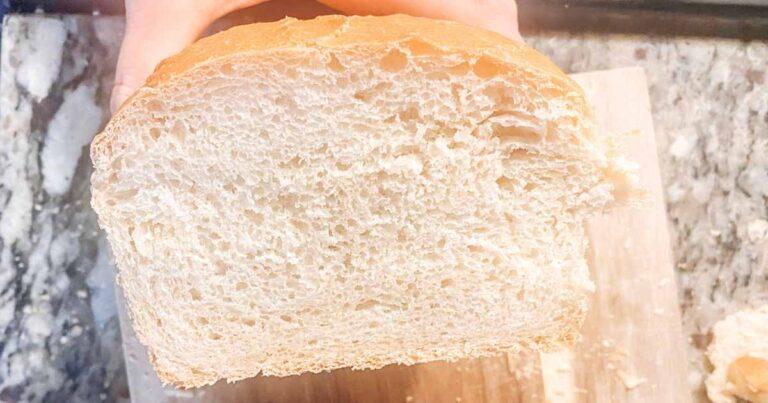
This simple homemade sandwich bread recipe is easy to follow, and the results will have you enjoying fluffy loaf of bread that’s perfect for any occasion. Whether you’re making toast, French toast, or sandwiches, this delicious sandwich bread will give you a fresh taste that’s miles ahead of anything you’ll find at the store.
What is the Difference Between Sandwich Bread and Regular Bread?
The difference between homemade sandwich bread and store-bought bread comes down to ingredients, freshness, and flavor.
Homemade sandwich bread is made with simple ingredients—flour, water, yeast, and maybe a little olive oil or butter—without the preservatives and additives you’ll find in store-bought bread. This means it’s fresher and doesn’t have that overly processed taste.
The texture of homemade bread is also more tender and flavorful, with a heartier feel. Store-bought bread is often lighter and fluffier, thanks to industrial processes, but it can feel a bit bland and artificial by comparison.
Lastly, there’s something satisfying about making your own bread. It takes a little more effort, but the payoff is a loaf you can feel good about serving to your family. Store-bought bread may be convenient, but it can’t beat the taste and quality of homemade.
What is the Secret to Moist Homemade Bread?
The secret to moist homemade bread lies in using the right ingredients and techniques to keep your loaf soft and tender. From proper hydration to careful storage, every step plays a role in creating the perfect loaf. Here are some tips to help you achieve consistently moist bread:
Homemade Sandwich Bread Recipe (Loaf Bread Recipe From Scratch)
Ingredients
Method
- Mix Dry Ingredients: In the bowl of an electric stand mixer (fitted with the dough hook) or in a large mixing bowl, add 3 cups of flour, salt, instant yeast, and sugar. Mix lightly with a wooden spoon.
- Add Wet Ingredients: Add the warm water and olive oil to the dry ingredients. Stir to combine. Let the mixture rest for 10 minutes to allow the yeast to activate (it should get bubbly).
- Add Flour & Knead: With the dough hook attachment, gradually mix in 3–4 cups of flour (up to 5 if needed, depending on humidity and flour type). Keep mixing until the dough pulls away from the sides and forms a soft, slightly tacky ball. Knead with the mixer for 4–6 minutes until smooth and elastic.
- First Rise: Lightly grease a large bowl and transfer the dough into it. Cover with greased plastic wrap or a clean kitchen towel. Let the dough rise in a warm place for about an hour, or until doubled in size.
- Shape the Loaves: Punch down the dough lightly and divide it into two equal pieces. Shape each piece into a thick rectangle, then roll up each piece, pressing on the seams to seal.
- Second Rise: Place the shaped loaves into greased bread pans. Cover with lightly greased plastic wrap or a damp kitchen towel and let the dough rise until it’s about 1 inch above the rim of the pan (about 1 hour).
- Bake: Preheat your oven to 350°F. Bake the bread for 30-35 minutes, or until golden brown on top and baked through.
- Finish and Cool: Remove from the oven and immediately turn the bread out onto a cooling rack. Brush the tops with melted butter for a soft finish. Let the bread cool completely before slicing.
About The Author
Kacie is a wife, homeschool mom of 4 boys, holistic esthetician, and a sixth-generation homesteader with a passion for natural and sustainable living, creating a home that educates the mind and nurtures the soul, and reclaiming our independence like our ancestors before us.